
I don't know about everywhere else but it's school holidays here. Fridge Shnookie is a project I designed years ago when I just started giving craft classes. The classes were after school and much shorter than my present holiday workshops, so I was making up projects that didn't take too long to sew.
Fridge Shnookie was great but the magnets were a bit tricky for the younger kids and in a class situation I ended up running all over the place trying to make sure everyone got it right. In the end I stopped using him but never really forgot him. So here he is. I think he'll make a great project but if your kids are doing the sewing you mums might want to supervise the magnets or you might find Fridge Shnookie acting a little oddly.
I've drawn up a template for Fridge Shnookie which you can find here.
Some simple instructions:
1) Cut out 2 body shapes and 2 ear shapes from felt using the templates given.
2) Fold the ear shape in half and sew along the line indicated in the template. The photo below shows what the finished ear should look like and how to pinch and sew it together:

3) Take 6 magnets...make sure you get good quality ones...they should have a decent pull...the cheaper ones won't stick properly to your fridge.
The tricky thing with magnets is that they have two opposite poles and for this project we need to have their poles arranged in a particular way. I make a little 'tower' by placing the magnets so that they stick one on top of the other. Then I dab the upward-facing surface of the top magnet with liquid paper, then remove the top magnet, and do the same for the next magnet and so on until I've taken my little tower apart. The important thing is to get a mark on the magnets that will help us to get the poles in the right position.
4) Take your magnets and glue them to the arms, legs and head with the dot facing upwards and to the tummy with the dot facing downwards as shown in the photo below:

5) If you want to sew a heart on remember to do it before you sew the two body shapes together.
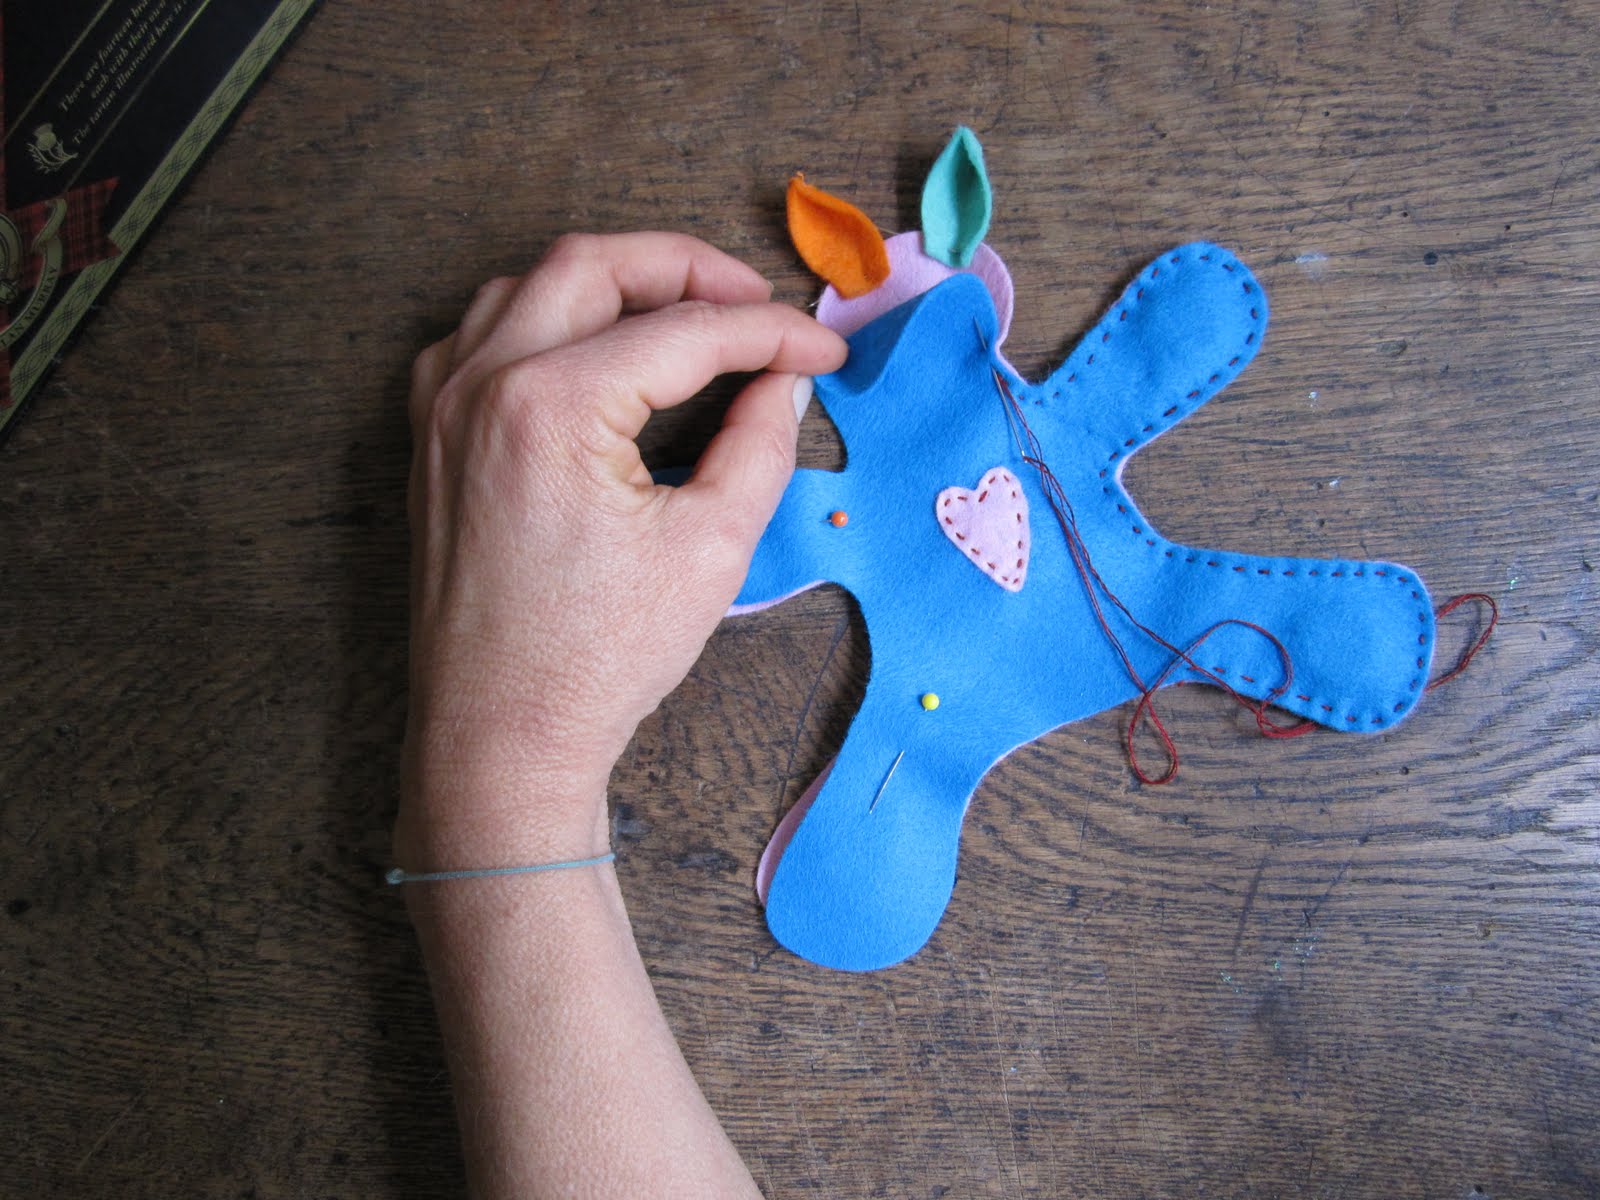
Now pin the two body shapes together. Pin the ears in position between the two pieces of felt as shown below. Sew the body together leaving an opening as indicated on template:
 Helpful Hint: I think it's easier to sew Fridge Shnookie on a flat surface as this helps keep the magnets in his legs and arms from sticking together...you can also make him behave while you sew by placing him on a metal tray.
6) Push a little stuffing through the opening and up into the head and then stitch the opening closed. Glue on eyes and nose...and that's it...you now have a Fridge Shnookie...which is really a very helpful and humorous addition to any family:


 Helpful Hint: I think it's easier to sew Fridge Shnookie on a flat surface as this helps keep the magnets in his legs and arms from sticking together...you can also make him behave while you sew by placing him on a metal tray.
